Author: everbella
11 Ways To Get Pink And Healthy Lips
Sometimes it can be easy to forget about our lips when thinking about skin health. But the truth is, they only have a few small differences from the skin everywhere else on our body. And some of these differences make them much more vulnerable.
First, our lips don’t have hair follicles. Even if you can’t see them, hair follicles are everywhere on your body except for your lips, palms, and the bottom of your feet.

They have the same amount of layers as our normal skin, however, the protective layer called the stratum corneum is much thinner in your lips. This accounts for their red, pinkish appearance, as the blood vessels beneath are closer to the surface. But this thin layer is also why they’re at a higher risk of damage.
Another reason the lips are more vulnerable is that they don’t contain melanin, the pigment in skin that dictates skin tone and helps protect the skin from UV rays. This leaves them as easy targets for the sun. Have you ever gotten sunburned lips? Ouch!
Finally, our lips don’t have sebaceous glands – glands that help keep the skin moisturized. That means that our lips are on their own.
Or are they?
If we take care of our lips, we can help keep them looking pink and healthy for all of their days! I’ve come up with a list of some best practices to help keep YOUR lips looking their best.
Check it out:
1. Exfoliate Your Lips
This can help remove any dry or dead skin from your lips. Plus, it can get the blood flowing to the lips, giving them a nice glow! One way to do this is to apply a good quality lip balm before bed. When you wake up, use a soft and damp washcloth or gentle toothbrush to carefully wipe your lips clean.
2. Use A Homemade Lip Scrub
This is another great way to exfoliate your lips and lock in moisture. Mix two teaspoons of a quality sugar, one teaspoon of honey, and one teaspoon of olive oil (coconut or almond oil work too!) together in a small bowl. Rub the mixture onto your lips for about a minute and then wash it off. Then keep the extra and repeat a few times per week!
3. Stay Hydrated

Sure, this one may seem like a no-brainer, but it can sometimes get forgotten throughout our busy days (guilty).
Drink at least eight cups of water per day. Your lips can’t moisturize themselves, so they rely on saliva only. But when you get thirsty, your mouth gets dry, and then so do your lips.
You know what, I’m going to go get a glass of water before continuing this list and you should too!
4. Check Your Cosmetics
With nothing but the extra thin layer of protective skin on your lips, you don’t want to be putting anything that could be potentially toxic on them.
Lip balms that contain shea butter, cocoa butter, and coconut oil can help give your lips a much-needed barrier of protection from heat and chemicals. But other ingredients can dry out your lips or cause damage over time. Make sure to look at the ingredients and expiry dates of the products you’re applying to your lips.
5. Vitamin E
Vitamin E helps boost circulation and can help with the production of new skin cells, making your lips softer and healthier. Add a topical vitamin E ointment to your lips, or you can even just break open a vitamin E capsule and apply the contents directly to your lips!
6. Apply Aloe Vera
Aloe vera has long been known for its ability to heal and soothe cracked or dried lips. You can purchase a packaged aloe vera product or – if you or someone you know has an aloe vera plant at home – crack off a leaf and squeeze it right from the plant itself!
7. Use A Berry-Based Lip Balm Or Scrub

Berries are loaded with antioxidants, vitamin C, and other compounds that your lips love. Try crushing up a strawberry and adding it to your homemade scrub from above. Just be careful what kind of berries you use – some may stain!
8. Protect Your Lips From The Sun
As I mentioned before, your lips can be very fragile against the sun due to their thin skin layer and lack of melanin.
Just like with your skin, exposure to the sun will age your lips. If you’re going to be outside – especially on a sunny day – wear a lip balm with an SPF ingredient. And be mindful of how much direct exposure they’re getting. Try and wear a hat that shades your face and lips.
9. Use Plant Dyes
If you’re going to be using products that color your lips, look for ones that use natural coloring like plant dyes. Not only will these not irritate your lips, but things like pomegranates or raspberries can also benefit them!
10. Limit Exposure To Toxins
There are many things out in the environment that we just can’t avoid, like pollution and second-hand smoke. But due to our lip’s vulnerability, these can impact their health and give them a faded appearance.
Do your best to avoid interacting with toxic chemicals, especially directly.
11. Try Peppermint Oil
If your lips feel dry, peppermint oil can offer a fresh, cooling sensation. On top of that, it may boost circulation to the lips! Consider adding some to your homemade lip scrub.
Your Lips And Collagen
Don’t forget about your lips! They’re similar but different from the rest of your skin. If you add even a few of the above tips to your skincare routine, you won’t have to worry about forgetting, because taking care of them will already be part of your day!
Another way to make sure you’re always caring for your lips is to take an absorbable collagen.
Just like the rest of our skin, collagen depletes in the lips as we age, causing them to thin and lose their lush look.
Don’t let your collagen levels get any lower.
Try EverBella’s Micelle Liposomal Complete Collagen+ today for up to 25% off!
It’s the number one reason I believe that my lips are softer than ever!
Protect Your Skin this Winter!
You might think it’s most important to protect your skin from the sun and elements during the hot summer months. However, protecting your skin is important all year round! While it’s true that UV rays are at their strongest in the spring and summer during the mid-day (depending on where you live in the world), this doesn’t mean that you can’t damage your skin during the winter months.
So, here are six crucial steps that I take every winter to keep my skin protected and looking its best, despite the dryness and cold!
1. Don’t Skip the Sunscreen
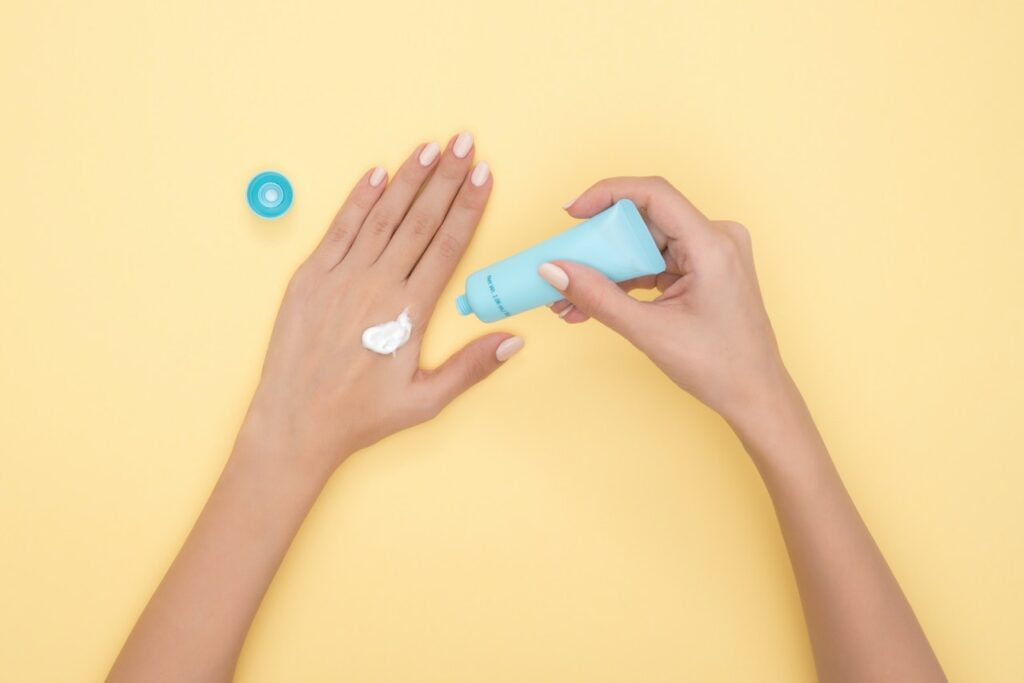
Did you know that you can get sunburned even when it’s cloudy outside? While the sun’s rays might not seem as severe during the winter months, UVA rays are still able to penetrate the clouds and damage your skin. And, if there’s snow on the ground you might even be at higher risk! The bright drifts of snow reflect the sun’s light, which can allow UV rays to hit your skin even if you aren’t expecting it.
You might not have as much skin available to burn as you bundle up, but it’s important to find a good sunscreen for your face and neck. You’ll want to look for a product that offers at least 30 SPF!
2. Moisturize, moisturize, moisturize
As you probably guessed, moisture is key in the wintertime! And finding good moisturizers and lotions for your skin is crucial.
Pro Tip: Finding a good face and lip moisturizer with SPF is even better!
While you might think it’s only important to moisturize in the morning and night, you might benefit from even more frequent application, especially if you are prone to dry skin. And, if you find your skin is really struggling, try adding a few drops of jojoba or vitamin E oil to your moisturizer or lotion. I keep a travel sized lotion and chapstick with me at all times. It really helps in the dry winter months, and protects my skin from cracks and damage.
3. Drink Lots of Water
Did you know that your body is mostly made up of water? A lot of that water is stored in your skin, to keep it plump and elastic. Additionally, water circulates in our bodies to transport important nutrients, regulate our temperature, and clear toxins from our system. We need a lot of water daily to keep our body and skin healthy!
When you’re dehydrated, water is pulled from your skin to help our internal organs function properly. This can leave it feeling dry, and prone to damage. It is important to stay hydrated to help maintain our skin’s health and appearance. Research has found that improving water intake can be helpful in improving the skin’s appearance, especially for those who are chronically dehydrated. [1] However, skincare expert, Kathleen C. Suozzi, MD, director of aesthetic dermatology at Yale Medicine and assistant professor at Yale School of Medicine in New Haven, Connecticut, notes “Excessive hydration is unlikely to benefit the skin.”
So, aim for about 64 oz of water daily (that’s eight 8 oz glasses of water), to optimally hydrate your body and your skin during the winter months.
4. Don’t Forget Your Lips!
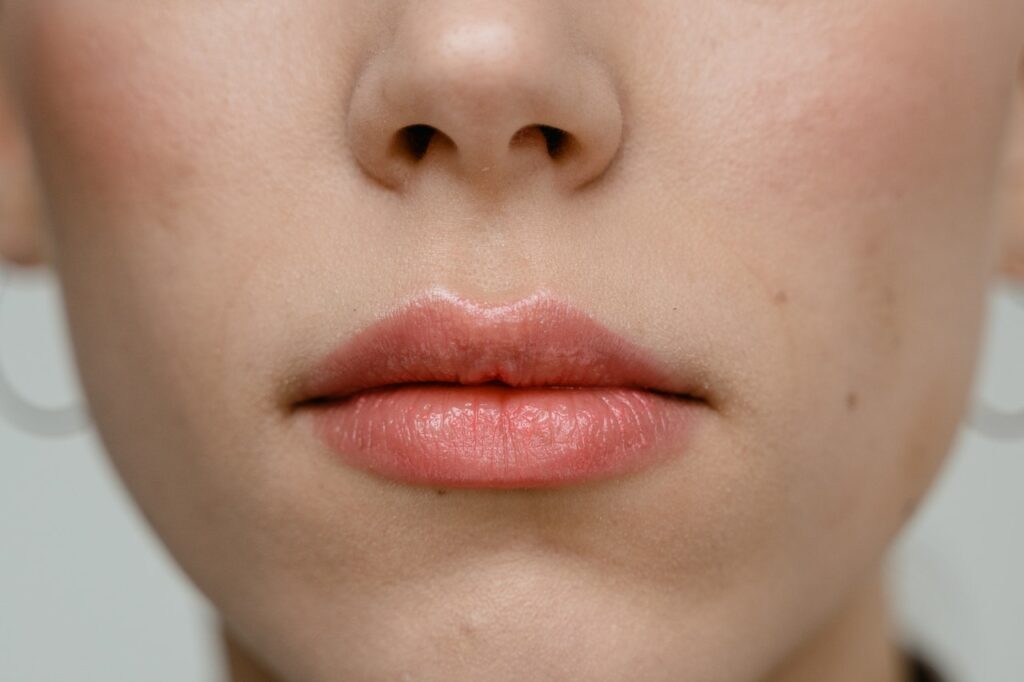
There is nothing more irritating than chapped lips during the winter time. The skin on your lips is quite thin and delicate, making it more susceptible to breakage and moisture loss. You’ll want to prepare for the winter season by finding a good chapstick that offers both moisture and sun protection. That’s right – your lips can get sunburned too, so you’ll want to protect them from UV rays by choosing a chapstick with SPF!
5. Opt for a Humidifier
While it’s true that the cold and dry winter air can certainly cause some strain on your skin, it might not be any better inside. Turning up the temperature and staying cozy inside can actually drain your skin of its moisture, without proper humidification!
If you find yourself stuck inside often during the winter months, it might be a good idea to look for an indoor humidifier! Humidifiers will add moisture to the air, which will also help prevent your skin from drying out when the heat is cranked up.
6. Collagen
Collagen is known to play an important role in our skin’s elasticity, hydration, and texture. We need a lot of collagen to keep ourselves looking and feeling our best. And, considering that natural collagen production drops off around age 20, and continues to decrease over time, it’s important for us to continue to optimize our collagen intake as we age. [1] This decrease can be accelerated even more with certain behaviors, like smoking and exposing the skin excessively to UV light.
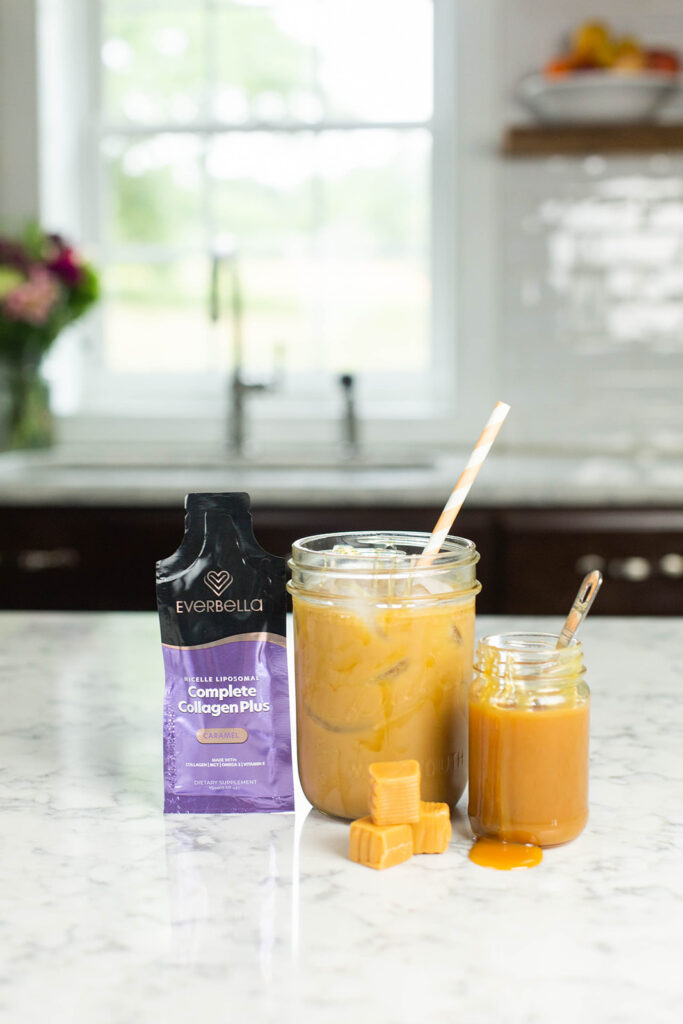
Due to this decrease of natural collagen production, there have been many studies to explore the effect of collagen supplementation on improving skin elasticity, hydration, and texture in an aging population. The evidence supports that collagen supplementation is an effective way to increase collagen synthesis and reduce the appearance of aging [2-4].
So, for hydrated and glowing skin all year round, I always opt for my daily dose of Complete Collagen+. It does wonders for my skin, and it’s a staple part of my skincare routine all year round! Give it a try, risk-free, for 180 days with our money back guarantee.
Citations
- “Collagen Synthesis.” Collagen Synthesis – an Overview | ScienceDirect Topics, https://www.sciencedirect.com/topics/engineering/collagen-synthesis.
- Bolke L, Schlippe G, Gerß J, Voss W. A Collagen Supplement Improves Skin Hydration, Elasticity, Roughness, and Density: Results of a Randomized, Placebo-Controlled, Blind Study. Nutrients. 2019;11(10):2494. Published 2019 Oct 17. doi:10.3390/nu11102494
- de Miranda RB, Weimer P, Rossi RC. Effects of hydrolyzed collagen supplementation on skin aging: a systematic review and meta-analysis. Int J Dermatol. 2021 Mar 20. doi: 10.1111/ijd.15518. Epub ahead of print. PMID: 33742704.
- Choi FD, Sung CT, Juhasz ML, Mesinkovsk NA. Oral Collagen Supplementation: A Systematic Review of Dermatological Applications. J Drugs Dermatol. 2019 Jan 1;18(1):9-16. PMID: 30681787.
Three Relaxation Techniques to Keep you Centered
As a working mom, I feel a little guilty when I take time for relaxation. But you know what they say… You can’t pour from an empty cup! Most of the time I push aside my stress to take care of work and others, but I’ve recently learned that I’ve been doing myself and my health a disservice!

Did you know that stress actually has negative health effects? An episode here and there isn’t a huge deal, but stress that builds up over time (also known as chronic stress) can wreak havoc on your cardiovascular systems, digestive system, mental health, and even your immunity. That’s because stress elicits a physiological response. Think about it… Your heart may race, your muscles tense, your breath might even get short and shallow. In small moments here and there, these physiological changes help us respond to stress, i.e. it’s the ‘fight or flight’ feeling. But our bodies aren’t built to stay in this fight or flight mode all the time.
However, as short bouts of stress extend into longer instances of chronic stress, the symptoms tend to become more vague and easier to live with. It doesn’t mean you aren’t still under stress, it just means that your body has gotten used to it.
Symptoms of chronic stress might include:
- Difficulty concentrating
- Insomnia
- Anxiety
- Irritability
- Depression
- Headaches
So, if you’re feeling that maybe I might be talking about you… Keep reading, because I am going to go through a few relaxation and coping techniques that have helped me in my toughest moments.
Deep Breathing

You might hear “take a deep breath” and roll your eyes, but it’s actually scientifically proven to help your physical and mental strain! [1] This is because focusing the body and mind on slow measured breathing interacts with your parasympathetic nervous system. This directly affects your brain in a positive way, allowing for more emotional control, and slowing down an overstimulated mind. There are many deep breathing techniques, but I absolutely love the ‘square breathing’ method.
Here’s how you can practice square breathing:
- Sit or lie down with your hands on your stomach and close your eyes.
- Imagine you are drawing a square with your breath. Breathe in deeply through your nose for four counts to draw the first side of the square, making sure to relax your shoulders. Hold the breath in for another four counts to draw the first corner.
- Exhale slowly for at least four counts to draw the next side of the square. Again, hold the breath in to draw the second corner. Continue the whole process until you’ve drawn a full square with your breath. Repeat this process four more times, or for as many times as you think you need.
Head to Toe Muscle Relaxation
I love this technique because it works for a few different reasons. But first, let’s walk through how this exercise works. Sit or lie down in a comfortable position, and close your eyes. You can start anywhere you like, but I like to start in my feet. Begin by scrunching or contracting the muscles in your feet, hold for 5 seconds, then release. Move up your body one muscle group at a time. Next tighten your calf muscles, then your quads, hamstrings, glutes, and so on. For each group, squeeze as hard as you can, then allow the muscles to relax and sink into the surface underneath you.
First, this exercise can pretty easily help you determine where you hold muscle tension. Maybe you get to your shoulders and realize they were already tense before you purposely contracted the muscles. This knowledge may help as you check in on yourself throughout the day. Sometimes I realize I’m fully tense without even realizing it. Knowing where I hold tension allows me to let some of that tension go when I tune in.
This exercise can also be a really useful way to divert your attention when you’re feeling stressed. You get the chance to focus all your energy and attention to one spot in your body at a time. It’s tricky to think of anything else. I use this technique when my mind is racing at night, and need a little guided relaxation.
Visualization Meditation
Sometimes, you need a place to escape to, even when there’s literally nowhere to go. In that case, it can be very helpful to implement a visualization and/or meditation practice. This process can take some practice and discipline, but over time, it can be a great strategy for stress relief.

There are many visualization techniques that you can use during meditation. Before you get started, you’ll want to find a comfortable seat or place to lie down. Close your eyes, and begin to slow your breath. Here are a few techniques that you can use to practice visualization:
- Color visualization – associate a color with the emotions you’re feeling, and visualize this color as you meditate
- Imagine a goal or finish line you want to reach, and visualize your accomplishment
- Create a visual home base (a happy place, if you will) to visit, like a garden or a cozy room
It can be challenging to practice meditation, but with practice, it can be a great strategy for stress relief. You may also find that there is a particular way that you like to relax that isn’t included on this list. There are so many different methods you can use – exercise, massage therapy, talk or psychotherapy, isolation, reading, and the list goes on and on. Use whatever relaxation technique works best for you!
Citations
Coffee Anyone?
Many of us can’t imagine a morning routine without caffeine, whether you’re a black coffee drinker or you enjoy a milky cup of English breakfast tea. I know I’m hopeless without my morning coffee!

However, you may find this dietary stimulant to be a bit temperamental. You might feel a little shaky if you’ve had too much, or if you haven’t eaten anything for breakfast yet. You know you’ll feel a headache coming on when you go without it. And on the off chance that you indulge a little too late in the day, there is no chance you’re sleeping tonight.
With all these side effects of caffeine, you may begin to wonder if it’s really all that healthy for you in the first place. In this blog, I want to break down the pros and cons of caffeine intake, and provide some guidelines on how you can enjoy it responsibly (without the shakes and headaches).
What is caffeine?
Many cultures use caffeine, a plant-based compound, as a natural stimulant. You’ll most commonly find it naturally in coffee and a variety of teas, but you can also find it in products made from the cocoa bean, such as chocolate! There are also a variety of energy drinks, foods, and supplements with added caffeine.
It acts on our central nervous system to induce its energizing effects. And it works quickly. In fact, 99% of the caffeine found in coffee, teas, and other caffeinated foods and beverages is absorbed within 45 minutes of ingestion!
Once it is absorbed into the bloodstream, it is able to exert its effects on the central nervous system. It’s most well known for blocking the action of adenosine, a neurotransmitter in the brain that relaxes the blood vessels. In doing so, it also allows for the secretion of norepinephrine, dopamine, acetylcholine, serotonin, glutamate, and gamma-aminobutyric acid (GABA). This leads to the alert, awake feeling that caffeine intake promotes. [1]
The benefits of caffeine
Aside from that little extra perk to your day, there are many benefits that caffeine can offer. Let’s explore a few of the most significant benefits:
- Boosted metabolism: Caffeine is a stimulant, which has the ability to increase the rate of our metabolism. In fact, one study showed that 300 mg daily could increase energy expenditure and burn up to 79 extra calories per day. [2] It is thought that caffeine may help control weight status, though the effects are relatively small.
- Cardiovascular health: Studies have looked at the impact of coffee intake, and found that it is associated with decreased risk of heart disease and stroke. [3-4] Research has also established the association between decreased risk of stroke, and intake of green tea.
- Brain function: As mentioned previously, caffeine has the ability to block the action of adenosine, which can boost secretion of molecules like dopamine and serotonin. Both of these neurotransmitters are known to play a role in mood, which could be part of the reason why it is thought that caffeine can play a role in our mental health. It has also been thought to improve focus, and has been associated with decreased risk of cognitive diseases, such as Alzheimer’s and Parkinson’s disease. [6-8]
While it definitely has its benefits, there are a few risks associated with excessive intake. Let’s dive deeper into the downsides of caffeine intake, and why you want to be careful about overdoing it on the coffee.
The risks
If you’ve ever had too much coffee, you’re probably familiar with the effects of having a little bit too much. While there are some serious consequences to be aware of, such as increased blood pressure, many of the negative effects of caffeine are probably ones you’ve experienced yourself at some point. [9] This may include:
- Anxiety
- Increased heart rate
- Difficulty sleeping
- Digestive issues
- Frequent urination
- Energy spikes and crashes
If you find that your hands are shaking after a few cups of coffee, it might be a good idea to cut back! It’s important to determine how much caffeine is right for you. It’s also important to know that not all caffeinated drinks are created equal. While the caffeine from coffee might cause a larger crash, you might find that the caffeine from a matcha latte offers a smoother come down from the caffeine rush. So, to avoid the risks, how much caffeine should you aim for on a daily basis? Let’s find out.
How much caffeine is safe to consume?
Now, how much caffeine is actually safe for you to consume on a daily basis? Research shows us that for healthy adults, 400 mg per day appears to be a safe amount of caffeine. Those who are pregnant should consume less, and limit intake to about 200 mg per day. Let’s break down the most common sources of caffeine, and their milligrams per serving (usually 8 oz), so you know how to divide up your daily dose of caffeine.
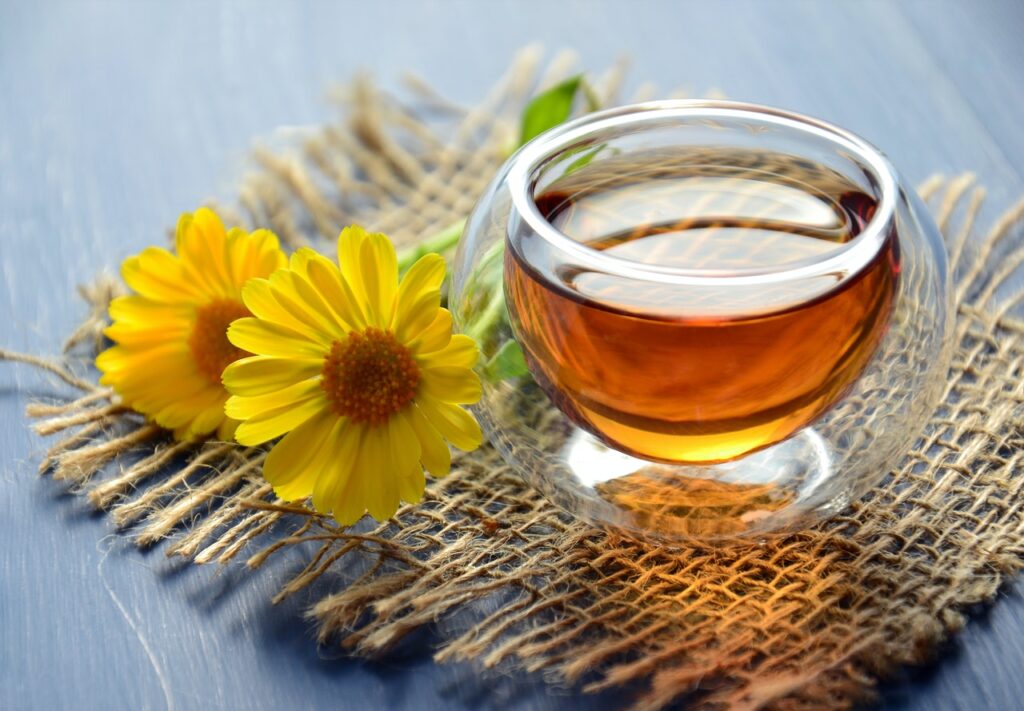
Black coffee: 95 mg
Green tea: 28-29 mg
Black tea: 47 mg
Caffeinated soda: 29-30 mg
Energy drinks: ranges from 85-300 mg per serving
Chocolate: about 12 mg per oz
So, for the average healthy adult, that’s about 4 cups of coffee OR about 13 cups of green tea, or 33 oz of chocolate! Mix and match as you like, but ultimately, it seems that it’s pretty easy to stay within the daily caffeine recommendations.
I definitely don’t plan on ditching my morning coffee anytime soon, especially now that the weather has gotten colder. And I love to give it a delicious caramel boost with Complete Collagen+! You can give it a try too, risk-free, with our 180 day money back guarantee!
Citations
- Institute of Medicine (US) Committee on Military Nutrition Research. Caffeine for the Sustainment of Mental Task Performance: Formulations for Military Operations. Washington (DC): National Academies Press (US); 2001. 2, Pharmacology of Caffeine. Available from: https://www.ncbi.nlm.nih.gov/books/NBK223808/
- Rudelle, Servane, et al. “Effect of a Thermogenic Beverage on 24-Hour Energy Metabolism in Humans*.” Obesity, vol. 15, no. 2, 2007, pp. 349–355., https://doi.org/10.1038/oby.2007.529.
- Jiang-nan Wu, Suzanne C Ho, Chun Zhou, Wen-hua Ling, Wei-qing Chen, Cui-ling Wang, Yu-ming Chen. Coffee consumption and risk of coronary heart diseases: A meta-analysis of 21 prospective cohort studies. International Journal of Cardiology, Volume 137, Issue 3. 2009. Pages 216-225, ISSN 0167-5273. https://doi.org/10.1016/j.ijcard.2008.06.051
- O’Keefe, James H et al. “Effects of habitual coffee consumption on cardiometabolic disease, cardiovascular health, and all-cause mortality.” Journal of the American College of Cardiology vol. 62,12 (2013): 1043-1051. doi:10.1016/j.jacc.2013.06.035
- Kokubo, Yoshihiro, et al. “The Impact of Green Tea and Coffee Consumption on the Reduced Risk of Stroke Incidence in Japanese Population.” Stroke, vol. 44, no. 5, 2013, pp. 1369–1374., https://doi.org/10.1161/strokeaha.111.677500.
- Heckman, Melanie A., et al. “Caffeine (1, 3, 7-Trimethylxanthine) in Foods: A Comprehensive Review on Consumption, Functionality, Safety, and Regulatory Matters.” Journal of Food Science, vol. 75, no. 3, 2010, https://doi.org/10.1111/j.1750-3841.2010.01561.x.
- Carman, A.J., Dacks, P.A., Lane, R.F. et al. Current evidence for the use of coffee and caffeine to prevent age-related cognitive decline and Alzheimer’s disease. J Nutr Health Aging 18, 383–392 (2014). https://doi.org/10.1007/s12603-014-0021-7
- Qi, Hui, and Shixue Li. “Dose-response meta-analysis on coffee, tea and caffeine consumption with risk of Parkinson’s disease.” Geriatrics & gerontology international vol. 14,2 (2014): 430-9. doi:10.1111/ggi.12123
- Shah, Sachin A et al. “Effects of Single and Multiple Energy Shots on Blood Pressure and Electrocardiographic Parameters.” The American journal of cardiology vol. 117,3 (2016): 465-8. doi:10.1016/j.amjcard.2015.11.017
Hydrating Hair Mask
I don’t know about you all, but sometimes my hair gets so dry – especially in the winter time or after I’ve used too much hairspray. So, to ensure I am always keeping my hair happy and healthy, I frequently look for natural ways to hydrate my hair.
While you could break the bank and pay for expensive hydrating hair treatments, I’ve found that there are plenty of ways to treat my hair all while saving my wallet! And not to mention, the DIY products I use are made with natural ingredients (no chemicals or preservatives what-so-ever).
After lots of trial and error, I finally found an amazing DIY hydrating hair mask that leaves my hair feeling AMAZING. It’s super quick to make, and the ingredients are easy to find.
Here’s what you’ll need for this hydrating hair mask…
- 1 ripe avocado
- 1 Tbsp. argan oil
- 1 Tbsp. honey
- 1 tsp. coconut oil, or ⅛ cup coconut milk.
Before we get to the fun part, let’s talk about why these ingredients are going to help your hair feel hydrated and soft.
Avocado
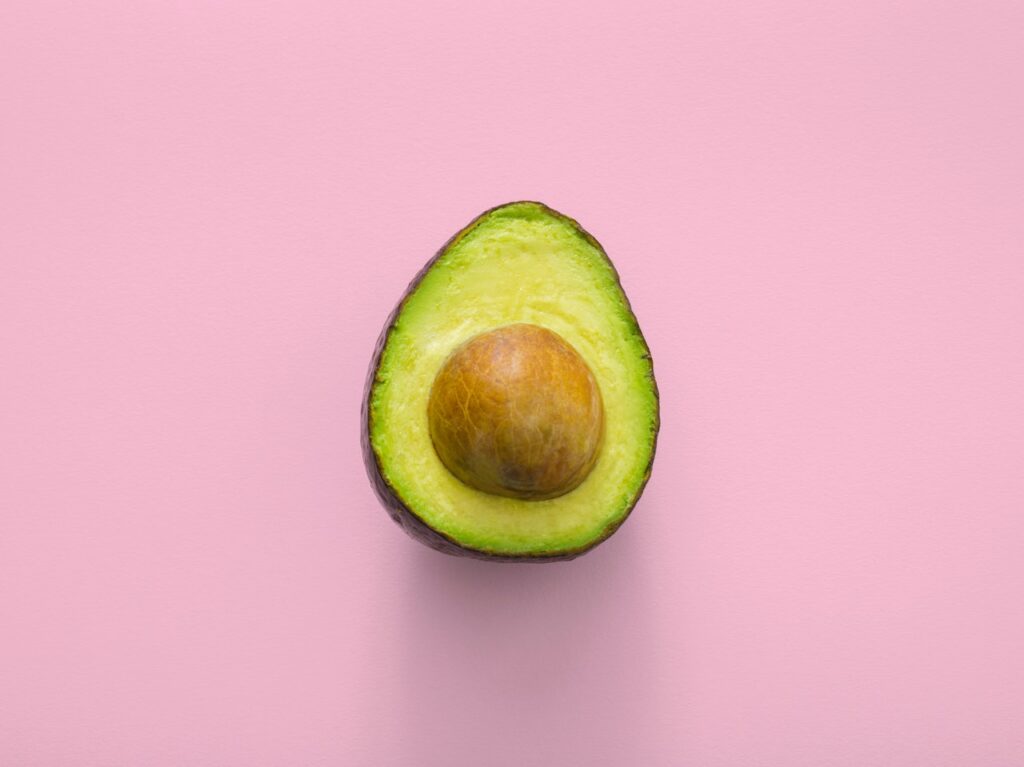
Avocados are rich in the healthy fats, vitamins and minerals needed for healthy hair, such as biotin, vitamin E, magnesium, and potassium. While these nutrients are important for encouraging hair growth, they are also important for maintaining hydration, and preventing breakage.
A study conducted in 2015 found that certain nutrients, such as the magnesium and potassium found in avocados, may be involved in helping seal the hair cuticle. This is important for hydrating your hair because this helps keep moisture in, and prevents further damage of hair strands. Avocado is also considered a humectant, which means that it helps retain moisture, and prevent drying out.
Argan Oil
Argan oil is a popular ingredient in hair and skin products alike. It’s not too surprising considering its amazing hydration properties! Argan oil is chock-full of essential fatty acids and vitamin E, both of which are going to help keep your lovely hair happy and hydrated. The essential fatty acids work to hydrate the hair strands, all while keeping moisture locked in. Meanwhile, vitamin E is going to help prevent your scalp from drying out, which can promote frizz-free, shiny hair.
Honey
Honey really is the star of any DIY beauty product. That’s because it has so many incredible properties to benefit your hair and skin! If you want to learn more about the antimicrobial and anti-inflammatory benefits of honey, you have to check out the Chamomile Face Mask recipe I posted a few weeks ago!
It is thought that honey can help maintain the moisture of the scalp and hair shaft, as well as helping keep it shiny, reducing frizz, and reducing hair breakage. Plus, it makes this mask smell amazing…
Coconut
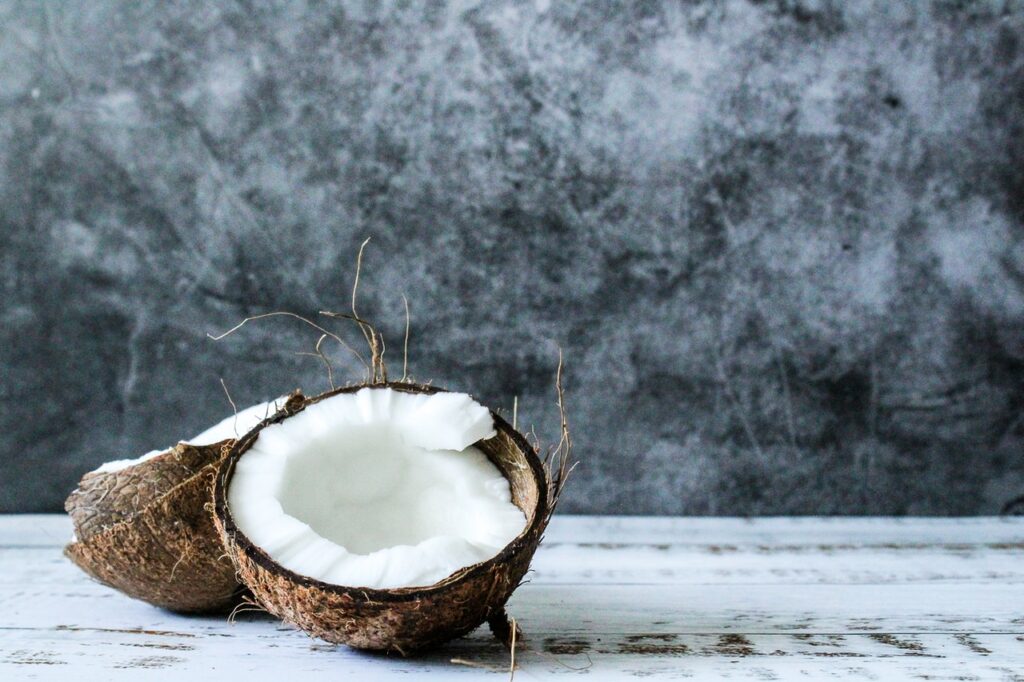
Coconut is rich in something called lauric acid. While lauric acid is one of the components of coconut that can cause elevated cholesterol if you eat too much of it, it adds a lot of benefit to this hair mask. That’s because lauric acid easily soaks into the scalp and hair strands, leaving behind softer, more moisturized, and less frizzy hair.
However, too much coconut oil can make your hair extra oily if you’re not careful. If you have thinner, or oily hair, be cautious of how much coconut you use. Luckily, this recipe doesn’t call for too much coconut, so you should be safe from greasy hair! Now that we’ve established all the wonderful benefits of this mask, let’s get down to business!
Here’s what you need to do…
You can start with either dry or damp hair, whatever you prefer! I chose to start with slightly damp hair (but not totally wet). You’ll want to combine all ingredients together until well blended. Then, work the mask evenly through all your hair, paying special attention to those drier ends! Leave the mask on for 30 minutes, before rinsing off with warm water.

So, there you have it! A quick, easy way to restore your hair’s moisture that will leave you feeling like you just got home from the salon. But, I haven’t even shared the best part yet…Because you will save so much money by avoiding those expensive salon products, you can opt to spend your money elsewhere. And I have the perfect suggestion for where you can spend your savings… You can invest that money back into your hair with Complete Collagen Plus! After years of trying expensive product after product, I realized that I could be doing a whole lot more for my hair by keeping it simple. Give your hair the love and nutrients it needs to thrive with Complete Collagen Plus!
Boost Your Microbiome for Beauty from Within!
I’m guessing you may have heard about the gut microbiome… But did you know we also have a skin microbiome as well? It’s true! While it might feel a little gross to imagine trillions of little bacteria living within our gut and on our skin, don’t write them off just yet.
Science is showing us that the diversity and colony size of certain types of bacteria are incredibly important for human health. While we typically think of bacteria as ‘bad’, there are many beneficial strains of bacteria found in our gut and on our skin that are important for…
The development and strength of our immune health
The microbiome is an important part of our immune health, and it helps us out in a few different ways. Whether bacteria is helpful or harmful, they need resources to grow. When we have large amounts of helpful bacteria, they can use their numbers to compete against the harmful bacteria for space and nutrients.
Colonies of helpful bacteria line the intestinal wall, act as a barrier against pathogens (things like harmful bacteria and viruses), and block them from accessing resources. Helpful bacteria can also produce a substance called bacteriocins, which can inhibit the growth of other bacteria. The immune system learns to team up with the helpful bacteria that attaches to certain sites on the intestinal wall, which allows it to recognize and respond to potential threats more rapidly. [2]

There is also some evidence to suggest that developing a healthy microbiome early in life can help prepare the body to respond to potential allergens. In one study, researchers found that infants who developed food and environmental allergies had different bacterial composition of the microbiome compared to infants without allergies. [3]
Our skin’s microbiome is also thought to play a role in our immune function. Our skin is the first line of defense against harmful bacteria and pathogens. Interestingly enough, our skin microbiome also plays an important role in our ability to fight off bad bacteria. This is because the helpful microorganisms that live on our skin can be helpful for ‘educating’ our immune system, which means that it tells our immune system what is going to help keep the body healthy, and what could be a threat. [5]
The production of certain nutrients
If you’re a fan of fermented foods, like kombucha, sauerkraut, kimchi, yogurt, kefir, or miso, you’re likely enjoying a healthy dose of friendly bacteria! Fermentation is interesting, because the process takes nutritious food items, and boosts them with even more nutrition! That’s because happy, healthy bacteria produce nutritious byproducts as a result of fermentation.
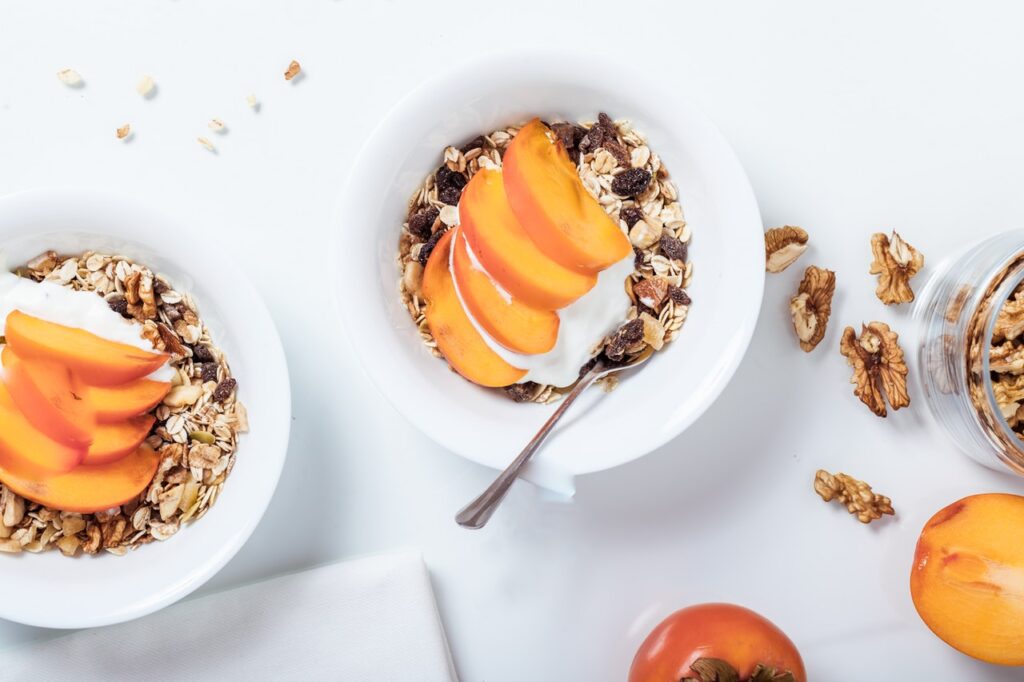
Now, don’t freak out… the bacteria in your gut performs a similar role. When you digest food, you’re feeding these little guys! And they produce some great nutrients in return, such as thiamine (B1), folate, biotin, riboflavin (B2), and pantothenic acid (B6), vitamin K2 and short chain fatty acids. [3] Isn’t that incredible?
They help regulate and maintain our healthy digestive system
If you have a healthy gut microbiome, you might not notice the effects all that much day-to-day. However, if your microbiome gets thrown out of whack, you’d notice the effects of dysbiosis a whole lot more. Dysbiosis occurs when the healthy bacteria in your gut is reduced, and the balance of the microbiome is lost. This affects your ability to maintain normal digestion, and may result in some undesirable side effects, such as:
- Intestinal discomfort
- Bloating
- Cramps
- Gas
- Diarrhea
Additionally, researchers suspect that dysbiosis in the microbiome may play a significant role in diseases like irritable bowel syndrome (IBS) and inflammatory bowel disease (IBD). [4-6] So, it’s important to maintain a healthy gut microbiome to promote
These beneficial bacteria that live in the microbiome are part of what’s called a symbiotic relationship – we help each other out! We provide them a place to live, and feed them as food moves through our digestive tract, and they provide us with all the benefits listed above! And that is not even the end of it…
The Microbiome and Healthy Skin
The microbiome that makes up our skin is not just important for our immune function, but also for the integrity of our skin. Skin dysbiosis is associated with several inflammatory skin conditions, such as acne, rosacea, atopic dermatitis (eczema), and psoriasis. However, while it’s important to take care of the skin topically, it goes a bit deeper than you might think.
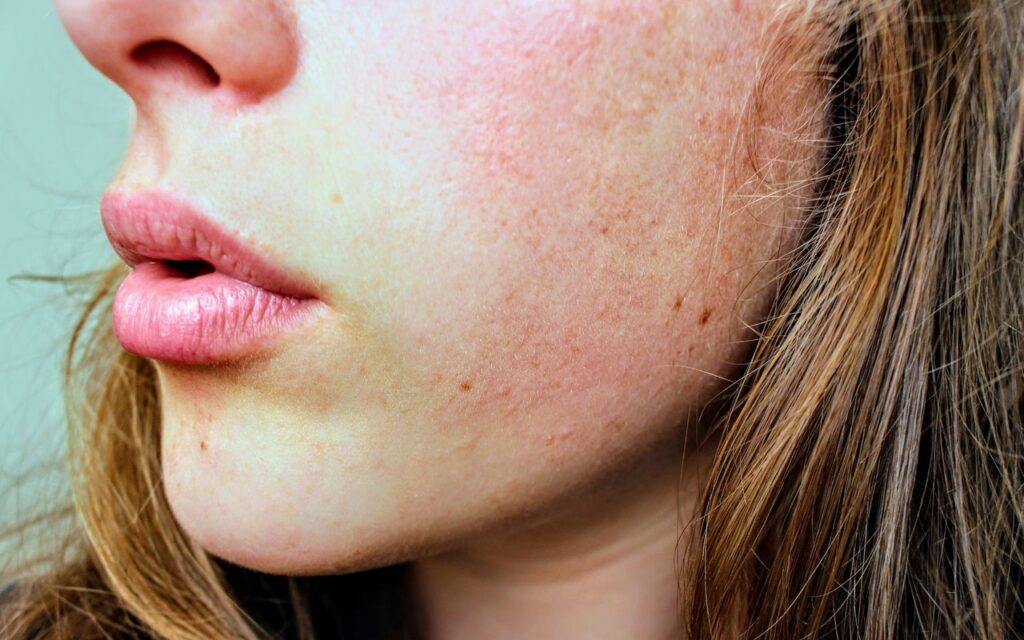
It’s also thought that there is a connection between the skin, gut, and brain – often referred to as the “brain-gut-skin axis”. This theory notes that emotional and mental stress may lead to compromised integrity of our gut microbiota, leading to system inflammation. This system inflammation may play a role in the health of our skin! I wrote about this interesting concept a while back if you want to learn more about the brain-gut-skin axis.
Maintaining a Healthy Microbiome
As long as the microbiome thrives, we may experience the benefit of our friendly bacteria, from gut and immune health, to potentially even maintaining a healthy weight. However, there are many factors that can lead to damage of the microbiome, which can throw our health for a loop. This includes:
- Use of antibacterial soap on your face or body (aside from your hands)
- Antibiotic use [11]
- Poor diet [12]
- Lack of exercise [13]
- Stress [14]
- Excessive alcohol intake [15]
It’s important to control these factors listed above to protect the integrity of the microbiome. The healthy bacteria in our gut won’t flourish without our help. Luckily, there is another way to make sure that our microbiome stays healthy and happy! Purality Health’s Liposomal Probiotic uses the bacteria strain, L. Rhamnosus, a well-studied bacteria that may be beneficial for your gut and immune health, development, and more.
As always, you can also rely on Complete Collagen+ to maintain the health of your skin in addition to supporting a healthy microbiome. A healthy and beautiful appearance starts from within!
Citations
- Eric A. Franzosa, Katherine Huang, James F. Meadow, Dirk Gevers, Katherine P. Lemon, Brendan J. M. Bohannan, Curtis Huttenhower. Identifying personal microbiomes using metagenomic codes. Proceedings of the National Academy of Sciences Jun 2015, 112 (22) E2930-E2938; DOI: 10.1073/pnas.1423854112
- Bull, Matthew J, and Nigel T Plummer. “Part 1: The Human Gut Microbiome in Health and Disease.” Integrative medicine (Encinitas, Calif.) vol. 13,6 (2014): 17-22.
- Björkstén B, Sepp E, Julge K, Voor T, Mikelsaar M. Allergy development and the intestinal microflora during the first year of life. J Allergy Clin Immunol. 2001;108(4):516–520. [PubMed] [Google Scholar]
- Morowitz, Michael J et al. “Contributions of intestinal bacteria to nutrition and metabolism in the critically ill.” The Surgical clinics of North America vol. 91,4 (2011): 771-85, viii. doi:10.1016/j.suc.2011.05.001
- Byrd, A., Belkaid, Y. & Segre, J. The human skin microbiome. Nat Rev Microbiol 16, 143–155 (2018). https://doi.org/10.1038/nrmicro.2017.157
- Halfvarson, Jonas et al. “Dynamics of the human gut microbiome in inflammatory bowel disease.” Nature microbiology vol. 2 17004. 13 Feb. 2017, doi:10.1038/nmicrobiol.2017.4
- Distrutti, Eleonora et al. “Gut microbiota role in irritable bowel syndrome: New therapeutic strategies.” World journal of gastroenterology vol. 22,7 (2016): 2219-41. doi:10.3748/wjg.v22.i7.2219
- Davis, Cindy D. “The Gut Microbiome and Its Role in Obesity.” Nutrition today vol. 51,4 (2016): 167-174. doi:10.1097/NT.0000000000000167
- Ridaura, Vanessa K et al. “Gut microbiota from twins discordant for obesity modulate metabolism in mice.” Science (New York, N.Y.) vol. 341,6150 (2013): 1241214. doi:10.1126/science.1241214
- Diener, Christian, et al. “Baseline Gut Metagenomic Functional Gene Signature Associated with Variable Weight Loss Responses Following a Healthy Lifestyle Intervention in Humans.” MSystems, 2021, https://doi.org/10.1128/msystems.00964-21.
- Sullivan, A et al. “Effect of antimicrobial agents on the ecological balance of human microflora.” The Lancet. Infectious diseases vol. 1,2 (2001): 101-14. doi:10.1016/S1473-3099(01)00066-4
- Heiman, Mark L, and Frank L Greenway. “A healthy gastrointestinal microbiome is dependent on dietary diversity.” Molecular metabolism vol. 5,5 317-320. 5 Mar. 2016, doi:10.1016/j.molmet.2016.02.005
- Bermon, Stéphane et al. “The microbiota: an exercise immunology perspective.” Exercise immunology review vol. 21 (2015): 70-9.
- Konturek, Peter C et al. “Stress and the gut: pathophysiology, clinical consequences, diagnostic approach and treatment options.” Journal of physiology and pharmacology : an official journal of the Polish Physiological Society vol. 62,6 (2011): 591-9.
- Mutlu, Ece A et al. “Colonic microbiome is altered in alcoholism.” American journal of physiology. Gastrointestinal and liver physiology vol. 302,9 (2012): G966-78. doi:10.1152/ajpgi.00380.2011
